Establishing a strong online presence through branding is crucial for any business. The more frequently your company’s brand is visible, the more it becomes ingrained in the minds of your customers.
In this article, we will guide you on how to replace the default WHMCS logo with your own logo.
WHMCS, short for WHM Complete Solution, is a highly popular comprehensive client management, billing, and support system tailored for hosting reseller businesses. The WHMCS client area is designed to be customizable, allowing you to modify the visual appearance of your entire interface. WHMCS utilizes the powerful Smarty template system, making it easy to personalize the layout.
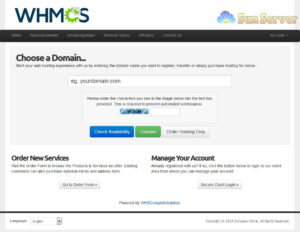
By default, the WHMCS Client Area has this appearance:

Of course, you’d prefer your customers to see your company logo in this space. The process of changing the logo is straightforward and involves a few simple steps:
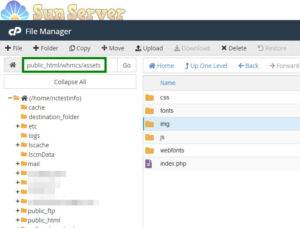
1. Access your cPanel and navigate to the directory where WHMCS is installed.
2. Open the “assets” folder.

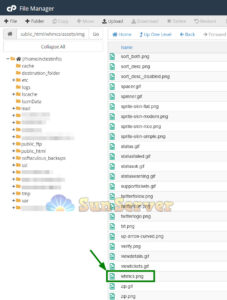
3. Inside the “assets” folder, locate the “img” folder and find the “whmcs.png” file within it.

4. Now, you need to upload your custom logo file to this directory and rename it as “whmcs.png.” You can also rename the original file to something like “whmcs_old.png.”
5. Be sure to adjust the image size *before* uploading it to ensure the best logo scaling. You might opt for a logo with a transparent background for seamless integration with the header background.
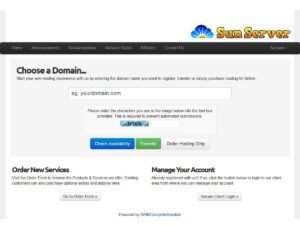
6. Refresh the WHMCS client portal to view your new logo:

End of Blog


