To create separate user accounts with limited management rights and specific access to certain options and settings in your Webuzo Admin control panel, follow these steps:
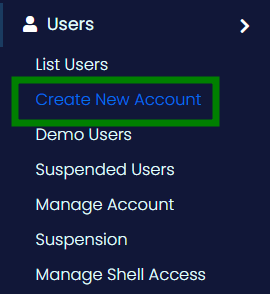
1. Begin by logging into your Webuzo Admin account, and navigate to the “Create New Account” menu under the Users section.

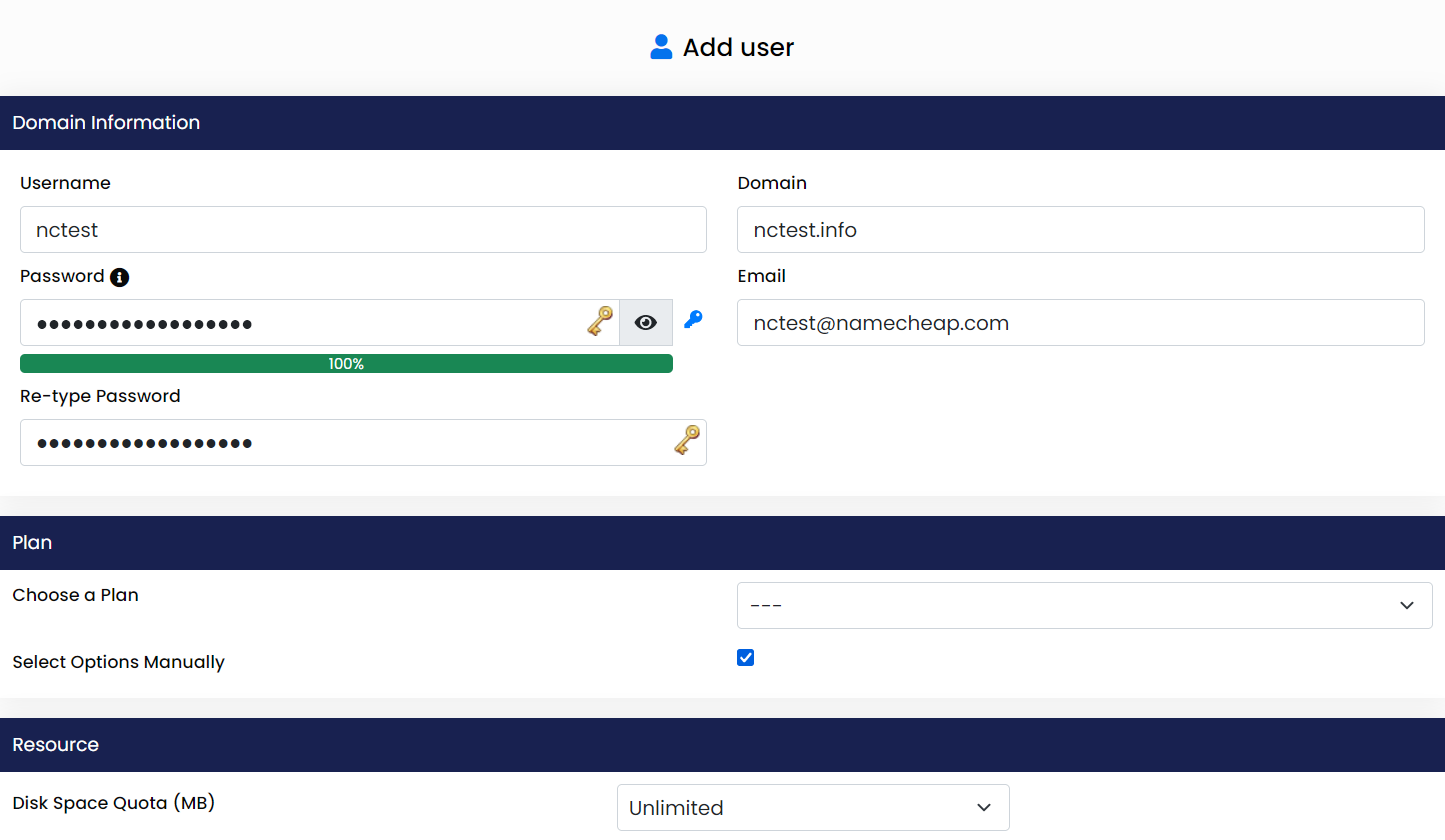
2. You’ll be directed to the “Add User” page, where you’ll need to fill in various tabs with information about the user and their resource allocation preferences. For example:
– If you have predefined plans, you can select a plan.

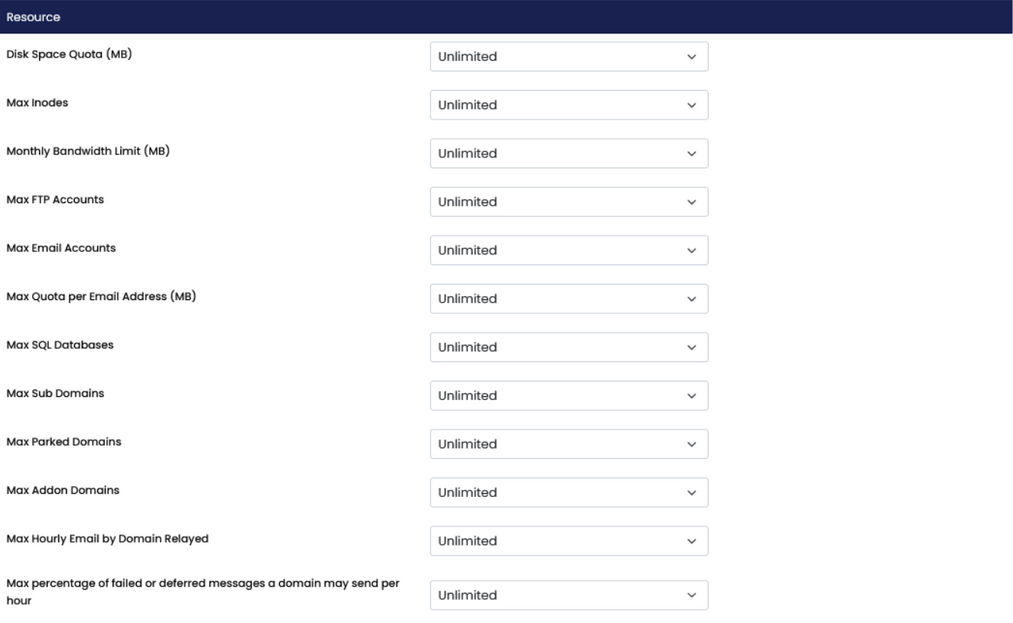
– If not, you can manually configure options by checking the relevant checkboxes to customize the resource allocation based on your requirements.
In the “Settings” tab, you have the option to assign a Dedicated IP (if available) to the user’s domains, grant shell access, and restrict the creation of cron jobs by selecting the “Deny Cron” option.
If you want to grant the account reseller status, you can check the “Make reseller” checkbox.
You can leave the “Feature Set” as it is, or if you’ve created customized feature sets, you’ll see a dropdown list with your feature sets to choose from and grant those features to the user.
3. Once you are satisfied with the account setup, simply click on “Save User.”

That’s all there is to it!


