A plugin is a software component designed to expand the capabilities and features of a program. It provides various custom functions, enabling users to enhance the software’s flexibility and tailor it to their specific requirements. WordPress users can access a wide variety of plugins, including numerous free options in the Official WordPress Plugin Directory.
Please note: Prior to making any changes, it is crucial to create a complete backup of your website.
Installing a Plugin
There are two methods for installing a plugin in WordPress: automatic installation from the WordPress Admin Dashboard and manual installation from a .zip archive.
Automatic Installation
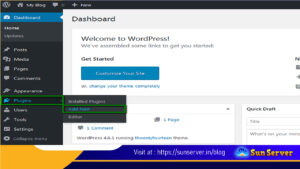
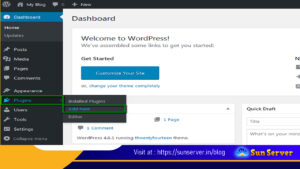
1. Log in to your WordPress Admin Dashboard (you can use cPanel Shortcuts for quick access) and navigate to the Plugins menu on the left, then click “Add New”
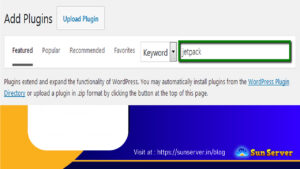
2. In the search bar, you can enter the plugin’s name, author, or a descriptive keyword to find the desired plugin.
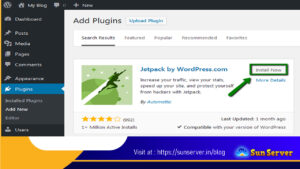
3. A list of plugins matching your search criteria will be displayed. You can click on “More Details” to access additional information and setup instructions. To install the plugin, click “Install Now.”
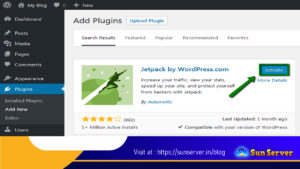
4. Once the plugin is installed, you will receive a notification. Click “Activate” to proceed.
**Manual Installation**
Manual installation is required when you want more control over the plugin installation process or if you’ve acquired a plugin from a third-party source. Here are the steps for manually installing and activating a plugin in .zip format:
1. Log in to your cPanel and access the File Manager.
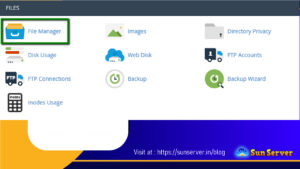
2. Navigate to the /wp-content/plugins directory and click the “Upload” button to upload the .zip file from your local machine. Alternatively, you can use FTP for this.
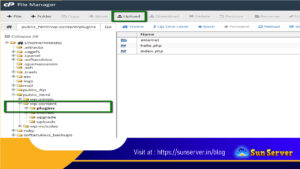
3. After uploading the archive, right-click on the zipped file and select “Extract.”
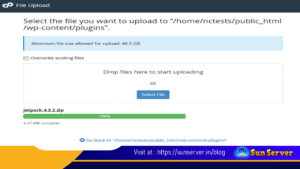
4. Once the archive is extracted, you’ll find the plugin folder in your WordPress installation directory.
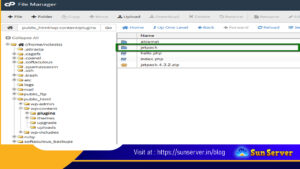
5. The plugin is now installed and can be activated in your Dashboard under “Plugins.”
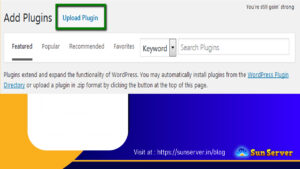
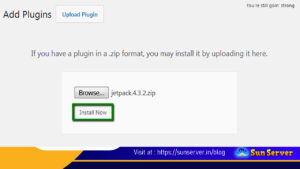
6. Alternatively, you can use the “Upload Plugin” option in the WordPress Dashboard.
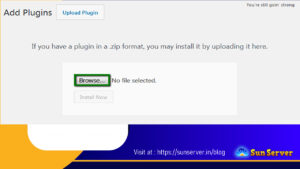
7. Click “Browse” and select the .zip format plugin file from your local machine. Then click “Install Now.”
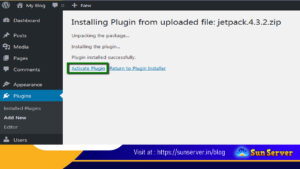
8. Once installed, you will receive a notification confirming the successful installation from the uploaded file. From the same page, you can click “Activate Plugin.”
Activating a Plugin
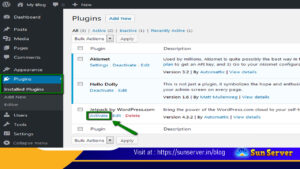
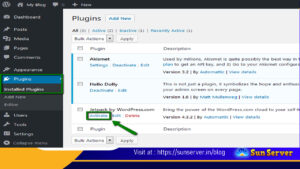
To activate an installed plugin, go to your WordPress Dashboard, access the “Plugins” menu, then “Installed Plugins,” and click on the “Activate” button.
Removing a Plugin
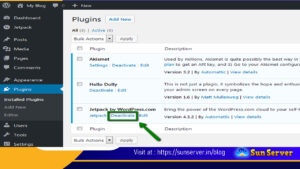
1. If you want to uninstall a plugin, first click “Deactivate.” After deactivating, the “Delete” button will become visible.
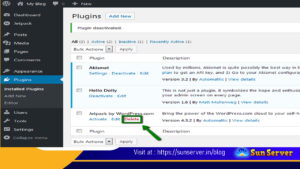
2. A notification will appear, asking you to confirm whether you want to delete the plugin and its associated files or cancel the removal.

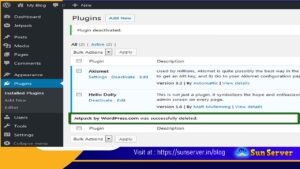
3. Once the plugin is removed, you will receive a notification that it has been deleted from your account, and the plugin folder will be automatically removed from the /wp-content/plugins directory.
That’s all there is to it!


